Friday, May 31, 2013

Old pencil drawings from my sketchbook

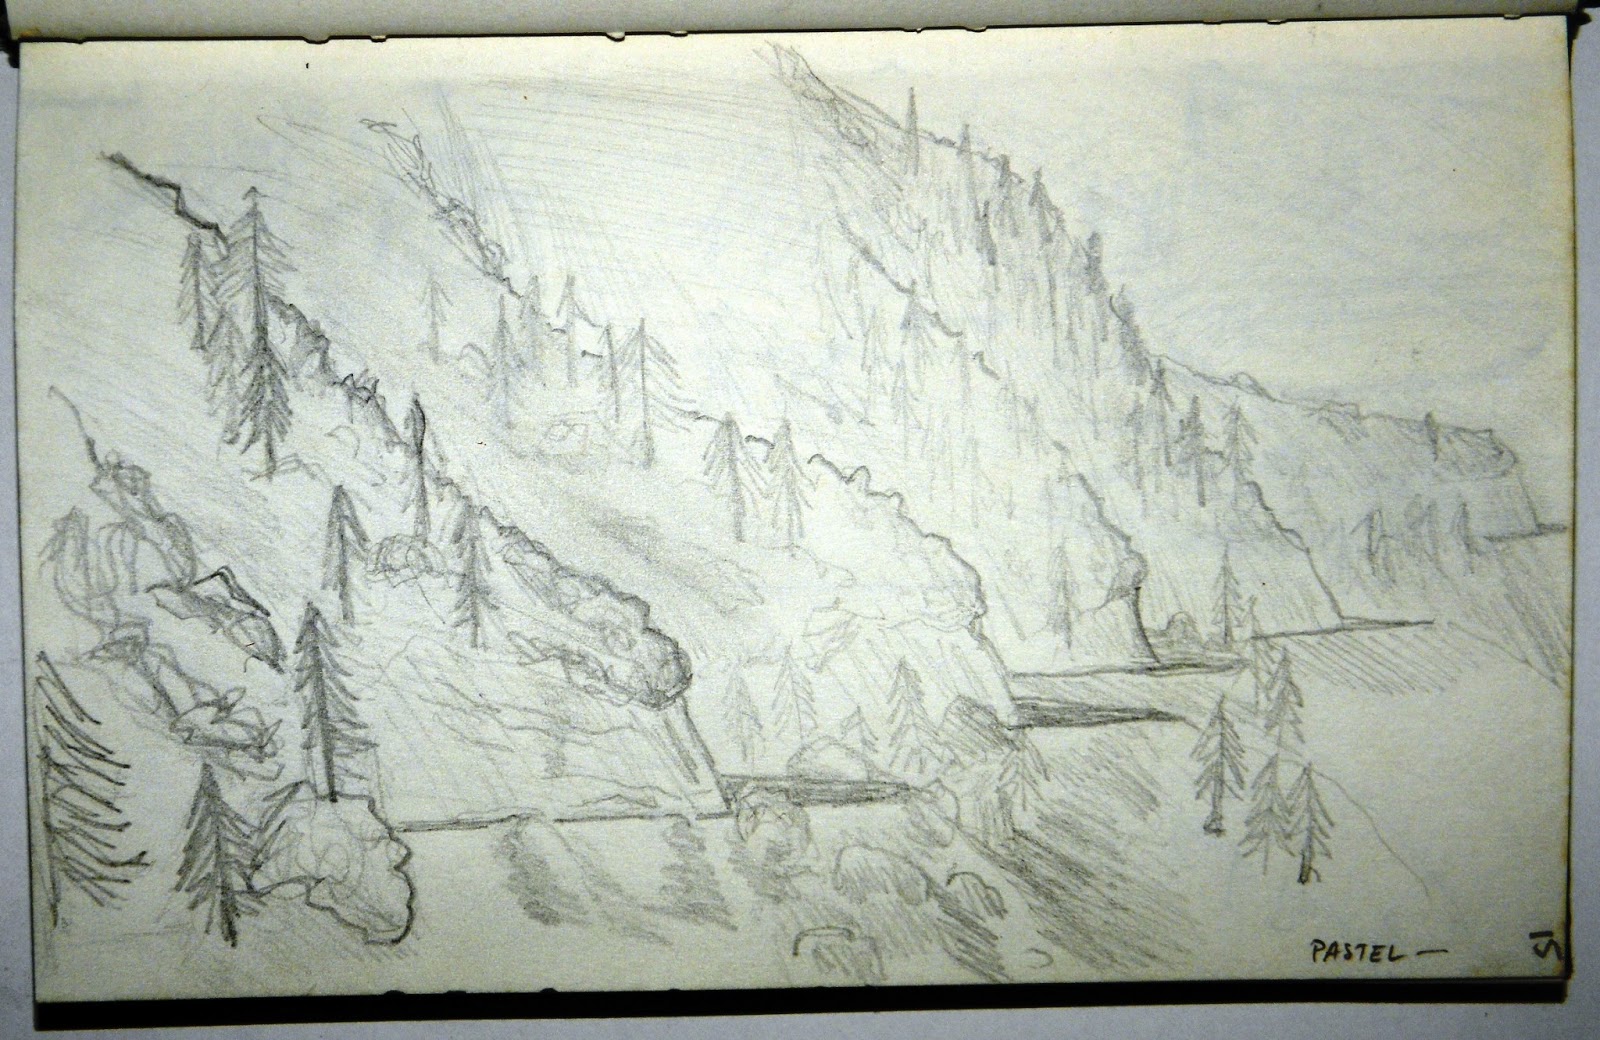
Here are some old drawings I had found in my sketchbook.  The first one is somewhere in the mountains above Los Angeles. I must have done it about 25 years ago! I think my original plan was to re-do it in pastel.
A little more recently, 2007, is a sketch of American Canyon Falls, outside of Cool, CA. I guess I was wrong in my Black Hole of Calcutta Falls blog entry when I said I had never drawn a waterfall before...

Colored Pencil Sketch of Miner's Ravine

This was just a beautiful, and relaxing scene just as the sun was setting behind me and the sky was turning all kind of deep blue. The lighting just couldn't be captured with my camera, being a point and shoot where it "tries" to adjust to the optimal lighting but instead washes out all the nuances of color. I was sitting on the edge of the Miner's Ravine greedbelt avoiding the hustle and bustle of Roseville, watching the evening walkers and bicyclists going by, while being serenated by the red-winded blackbird flitting about the reeds in the marsh below me. It's no wonder I love plein air art SO much!

Sunday, May 26, 2013

Cardboard, glue, and foil...simple enough for kids, but fun for adults, too!

So here is another creation inspired by a Pinterest post. You seemed to enjoy the last one on Baby Wipe Painting! This one comes from a blog called Make It...a Wonderful Life. Our Artist Way group chose this project to work on to help us get creative though different mediums. It was a two step process. The first step was to create a basic design using glue onto a piece of cardboard. From our experience, chip board works better than corragated because the corragated pattern comes through on the completed product. I also found that the "basic design" is all relative because even small details come through in the end.  I used a toothpick to feather some of my glue lines. Sorry I didn't take a picture of the completed first step.

After the glue has dried completely, cover the cardboard with foil. Either the shiny or matte side works. For my project I used the matte side of the foil. Tape the back to keep the foil from moving around. Using your fingers or cotton swabs, rub the foil until the design from the glue comes through on the foil. Then you can add in more details with a pointed object like a pencil (Not too sharp as to puncture the foil though). This will add in some texture that wasn't possible with the glue.

Last, we put shoe polish on and rubbed it around to give it an antique look. It was hard  to work with the shoe polish and it didn't move around as well as I wanted it too, but it does help accentuate some of the details.

Photograghing this piece was a challenge because of the reflective surface, but you can get an idea of the detail  work as well as the areas left smooth.
Wednesday, May 22, 2013

Plein Air painting at I -Fest in Rancho Cordova

Here is a step-by-step look at me painting plein air at the Rancho Cordova I-Fest, a display of the city's international diversity. The Sacramento Plein Air group was invited to document the event.
I started with a rough outline with an Expo dry erase pen,
and then washed in sky and began working on the background.
Working my way down, adding in more background.
Filling in the foreground.
Add in shadows.
A few minor details... and voila!

This was a very challenging project because I have always avoided drawing people, and here was a huge crowd! Also thought I'd throw a dog in there just for sport! Here is my "almost complete" artwork displayed next to David Peterson's work.


Artist at work.
I forgot to give my wife credit for the photos.  I was too busy to even notice that she was taking them, but it worked out well for showing the steps. Thank you Joann!


Tuesday, May 21, 2013

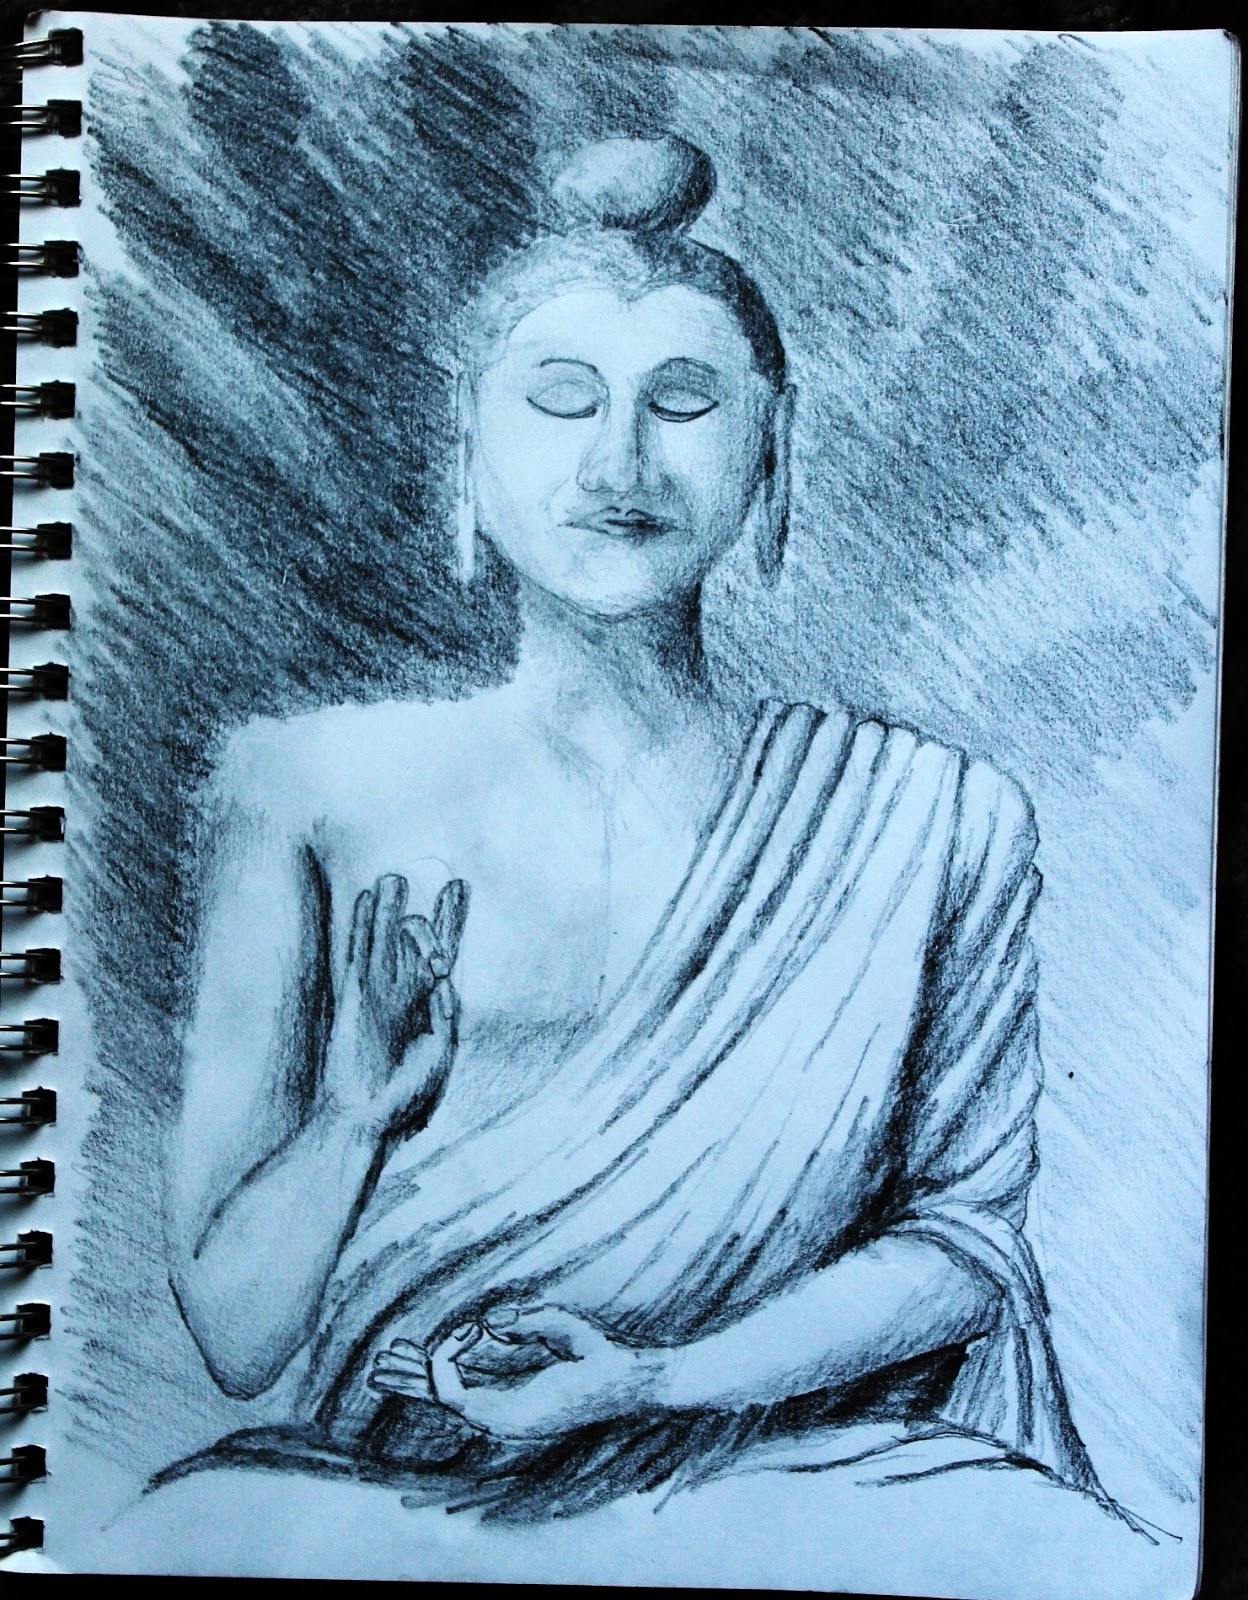
Buddha


Just a quick pencil sketch of Buddha to practice drawing people. I chose pencil because it is more forgiving than other mediums.  I can tell I still need to work on hands. His mudras are kind of tricky. He did sit very still for me though! Here is the picture I took my insiration from, although I did make some changes. 

Friday, April 19, 2013

Baby Wipe Painting

I'm always willing to try new things.  A friend of mine from my Artist Way group told me of this process of applying paint with baby wipes of all things. "Forget the brushes!" I thought, "Let's give this a try!" On a 3/4 inch thick piece of plywood (8 in x 10 in) I used the baby wipe to apply two different colors of acrylic paint. and within 5 minutes, I had created a sunset (or I suppose it could be turned upside-down for a sunrise).  The moisture of the wipe helped spread the paint on the untreated wood.  The grain still shows through to give it that ethereal look. I also applied paint to the sides of the board for a more completed look without a frame.


Marsh Creek

I finally broke down and bought a new paint brush. I started with my $5 set of 10 brushes from Michael's, and now I went back and bought a pointed round brush for $5. Still a far cry from the hundreds I could spend on brushes.  This new brush is very versatile. I completed this painting using just the one brush, from wash to detail work

I found a nice quiet spot in between Clayton and Brentwood off Marsh Creek Road.  Had to hop a couple of fences to get to down to the creek but well worth the hike. I love the rolling grassland in the area with majestic oaks scattered upon the hillsides. It was a great day with big puffy clouds and I was just far enough from the road that the only sound was the gurgling brook.