So while I was plein air painting the pond at Hagan Park, I decided to take some pictures to see if I could be further inspired later on. The idea of taking a picture and then going home and painting inside, like most painters do, has always been a struggle for me. Why? I don't know, but there is something about painting a scene that is right in front of you that always seems to inspire me...especially in this beautiful Sacramento weather we are having! So this was painted entirely inside. The biggest advantage that I found to painting inside from a photograph is that I don't having a rushed feeling, leaving more time to let things dry. This has always been a problem for me...having the patience to let one area dry before going to the next.
I really worked on leaving negative spaces on this piece...no masking fluid used (I still have to get some of that so I can figure it out). The bridge kind of reminds me of Monet's Bridge Over a Pond of Water Lilies.
An artist's journey of self-discovery, passion, and creativity
Friday, May 31, 2013
Plein air painting at the pond in Hagan Park, Rancho Cordova
 I was out at Hagan Park this week, looking for some insiration to paint, with my new stool and easle that I had gotten for my birthday. Whenever I am here I always think about the large pond but never made the time to sit down and paint it, until now! The pond is always smooth and reflective, so I challenged myself with treating the reflction a little different than I usually do when I am out painting the river. I quite like the texture that it created in the painting! The idea of painting vertically instead of having the painting pad on my lap was tricky to get use to. It is suppose to help the paint flow better, but I guess it takes some getting use to.
 It's kind of intimidating looking at the photograph right next to my painting, but I think I did a pretty good representation of the scene.
Old pencil drawings from my sketchbook
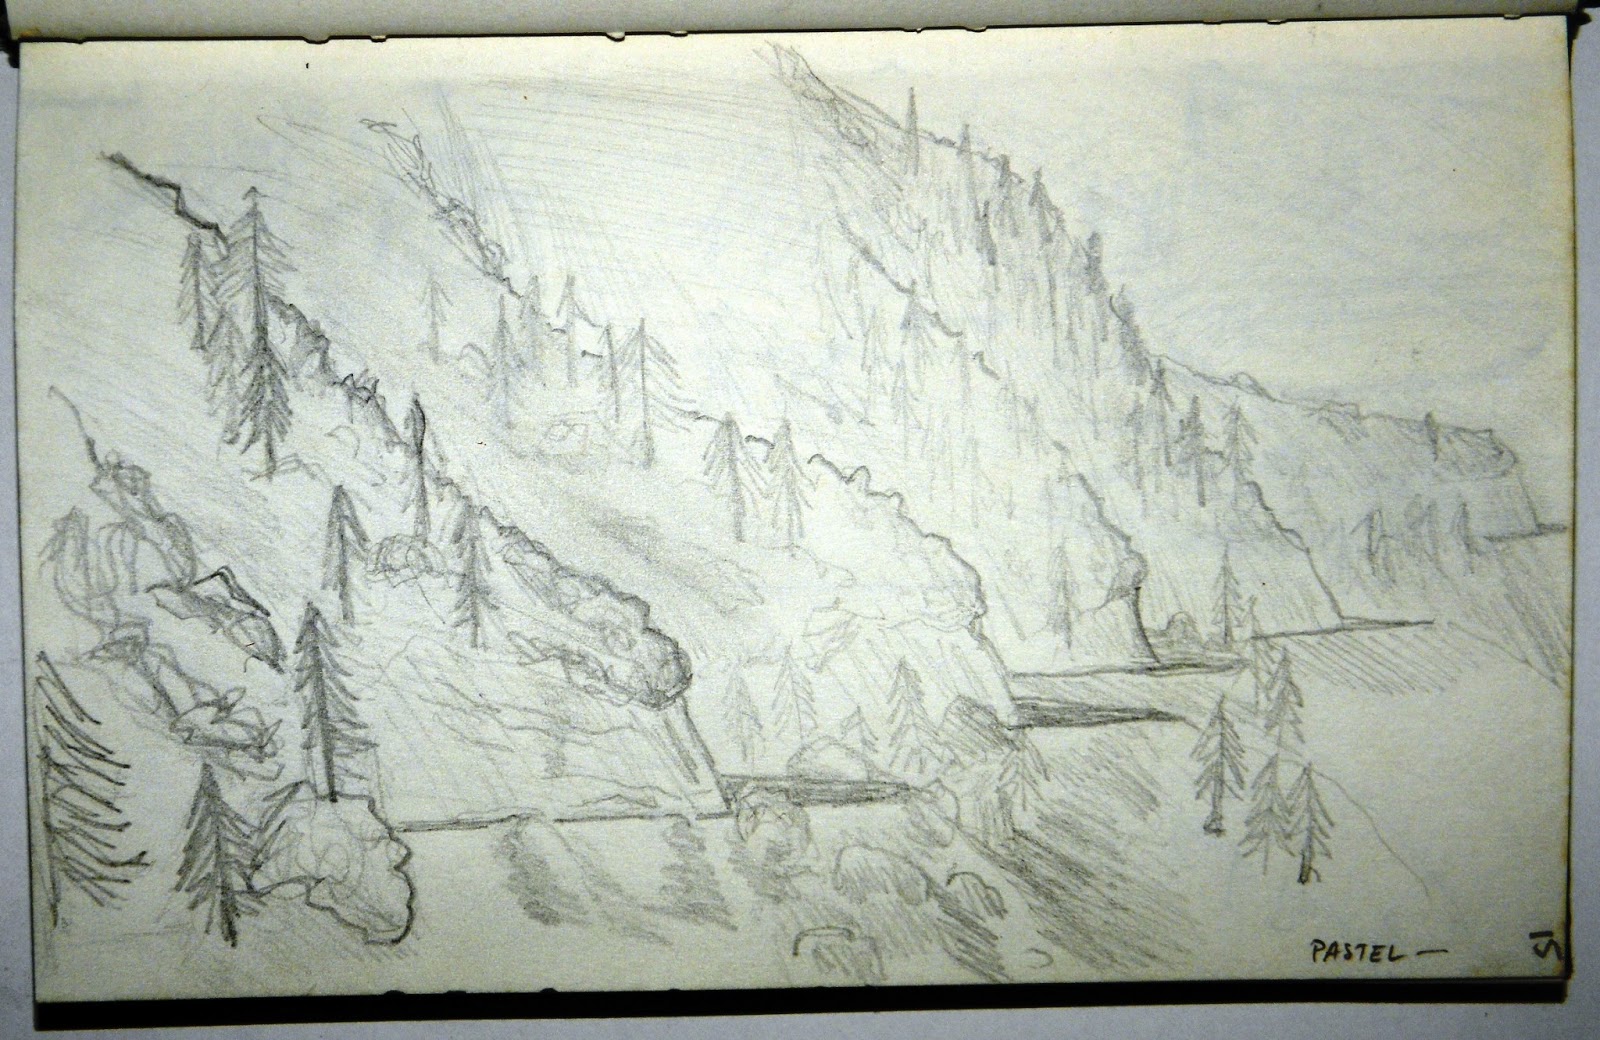
Here are some old drawings I had found in my sketchbook. The first one is somewhere in the mountains above Los Angeles. I must have done it about 25 years ago! I think my original plan was to re-do it in pastel.
A little more recently, 2007, is a sketch of American Canyon Falls, outside of Cool, CA. I guess I was wrong in my Black Hole of Calcutta Falls blog entry when I said I had never drawn a waterfall before...
Colored Pencil Sketch of Miner's Ravine
This was just a beautiful, and relaxing scene just as the sun was setting behind me and the sky was turning all kind of deep blue. The lighting just couldn't be captured with my camera, being a point and shoot where it "tries" to adjust to the optimal lighting but instead washes out all the nuances of color. I was sitting on the edge of the Miner's Ravine greedbelt avoiding the hustle and bustle of Roseville, watching the evening walkers and bicyclists going by, while being serenated by the red-winded blackbird flitting about the reeds in the marsh below me. It's no wonder I love plein air art SO much!
Sunday, May 26, 2013
Cardboard, glue, and foil...simple enough for kids, but fun for adults, too!
So here is another creation inspired by a Pinterest post. You seemed to enjoy the last one on Baby Wipe Painting! This one comes from a blog called Make It...a Wonderful Life. Our Artist Way group chose this project to work on to help us get creative though different mediums. It was a two step process. The first step was to create a basic design using glue onto a piece of cardboard. From our experience, chip board works better than corragated because the corragated pattern comes through on the completed product. I also found that the "basic design" is all relative because even small details come through in the end. I used a toothpick to feather some of my glue lines. Sorry I didn't take a picture of the completed first step.
After the glue has dried completely, cover the cardboard with foil. Either the shiny or matte side works. For my project I used the matte side of the foil. Tape the back to keep the foil from moving around. Using your fingers or cotton swabs, rub the foil until the design from the glue comes through on the foil. Then you can add in more details with a pointed object like a pencil (Not too sharp as to puncture the foil though). This will add in some texture that wasn't possible with the glue.
Last, we put shoe polish on and rubbed it around to give it an antique look. It was hard to work with the shoe polish and it didn't move around as well as I wanted it too, but it does help accentuate some of the details.
Photograghing this piece was a challenge because of the reflective surface, but you can get an idea of the detail work as well as the areas left smooth.
Wednesday, May 22, 2013
Plein Air painting at I -Fest in Rancho Cordova
 |
| I started with a rough outline with an Expo dry erase pen, and then washed in sky and began working on the background. |
 |
| Working my way down, adding in more background. |
 |
| A few minor details... and voila! |
 |
| Artist at work. |
Tuesday, May 21, 2013
Buddha
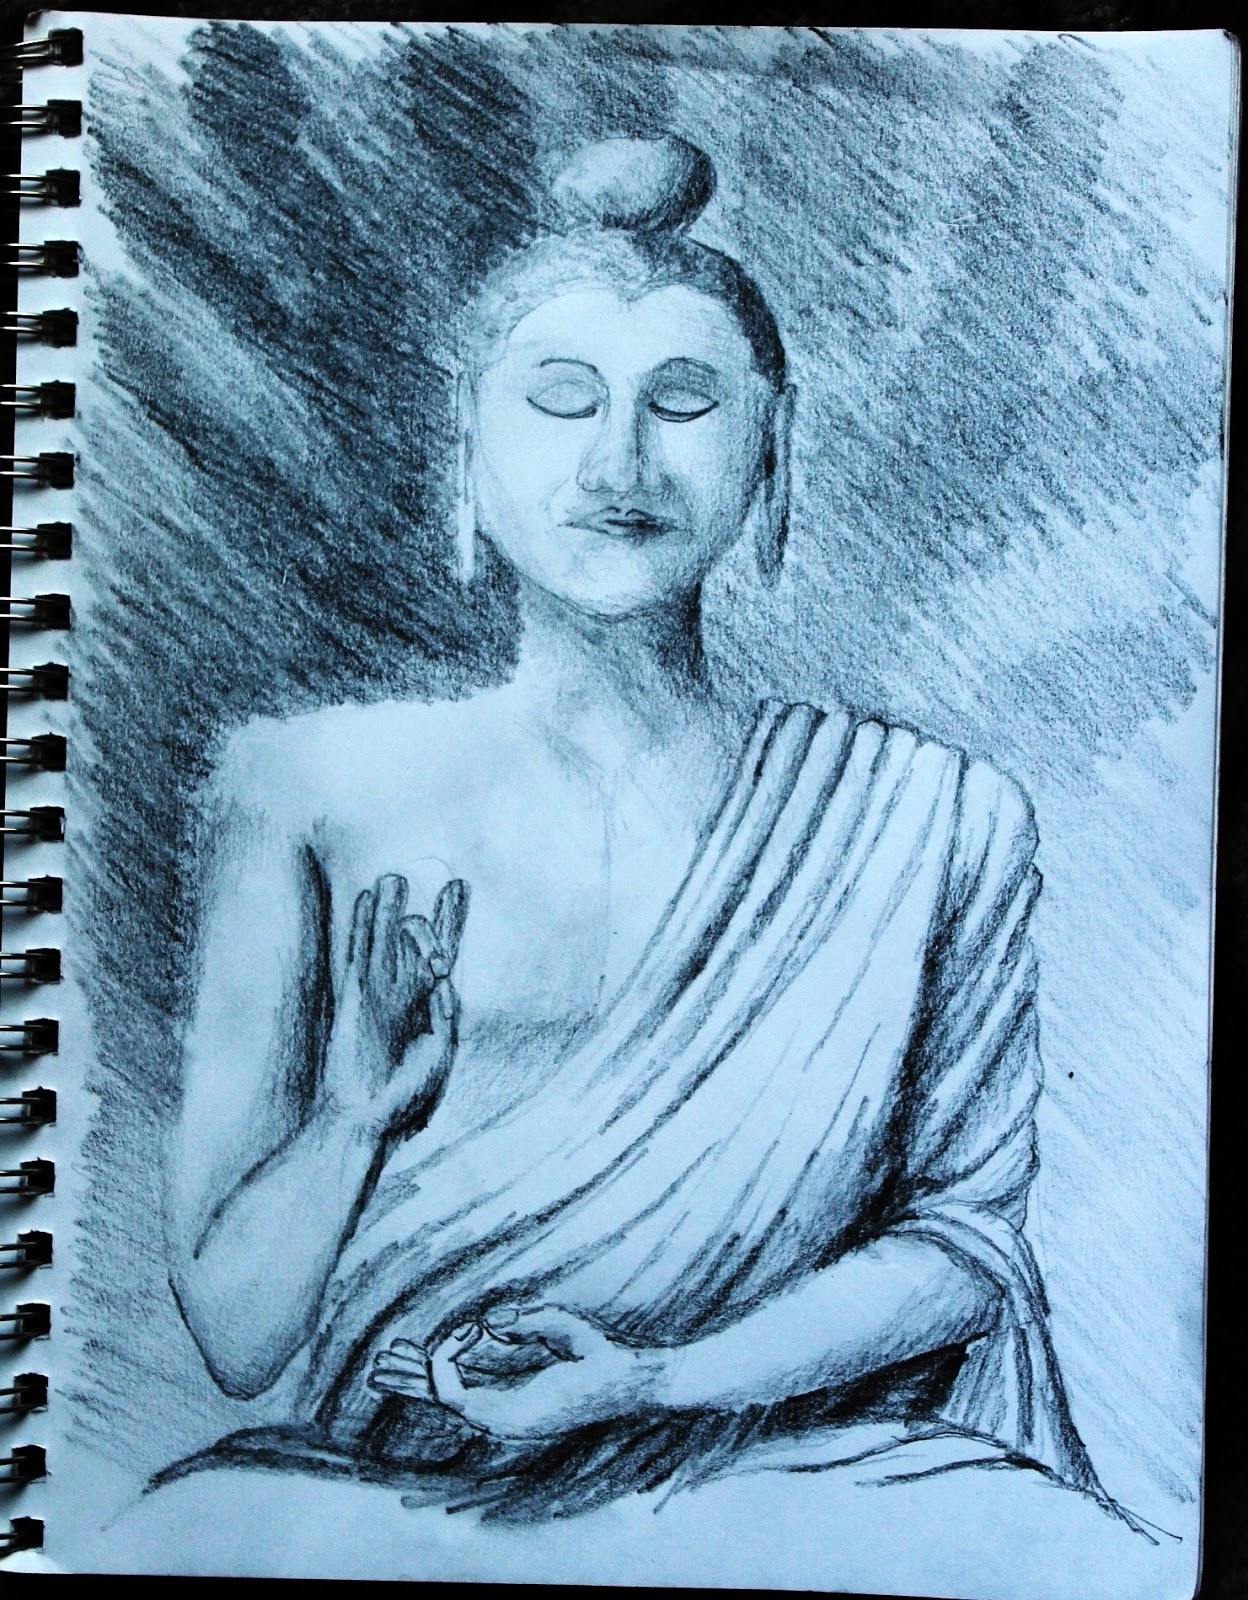
Just a quick pencil sketch of Buddha to practice drawing people. I chose pencil because it is more forgiving than other mediums. I can tell I still need to work on hands. His mudras are kind of tricky. He did sit very still for me though! Here is the picture I took my insiration from, although I did make some changes.
Subscribe to:
Comments (Atom)


